How do I set up my account?
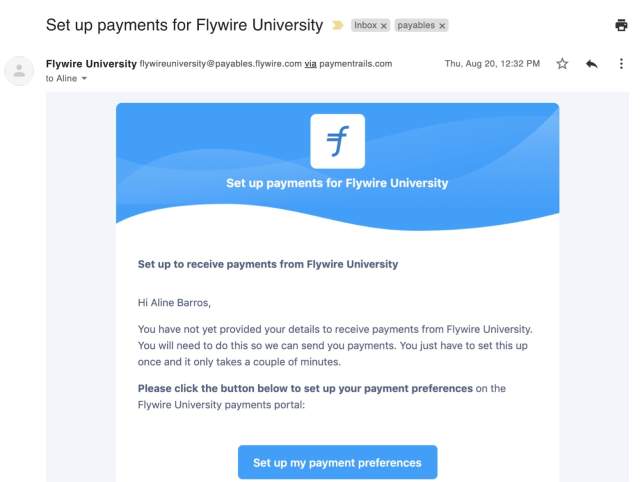
Please note, the content of this article is only relevant to users that have received an email from their university asking them to “Set up payments for [your university].”
If you have not received this email (sample below), you may disregard this information.
Step 1: Validate your account
When your school sends you an email request to provide your banking instructions for a return, first you will be asked to validate your account.
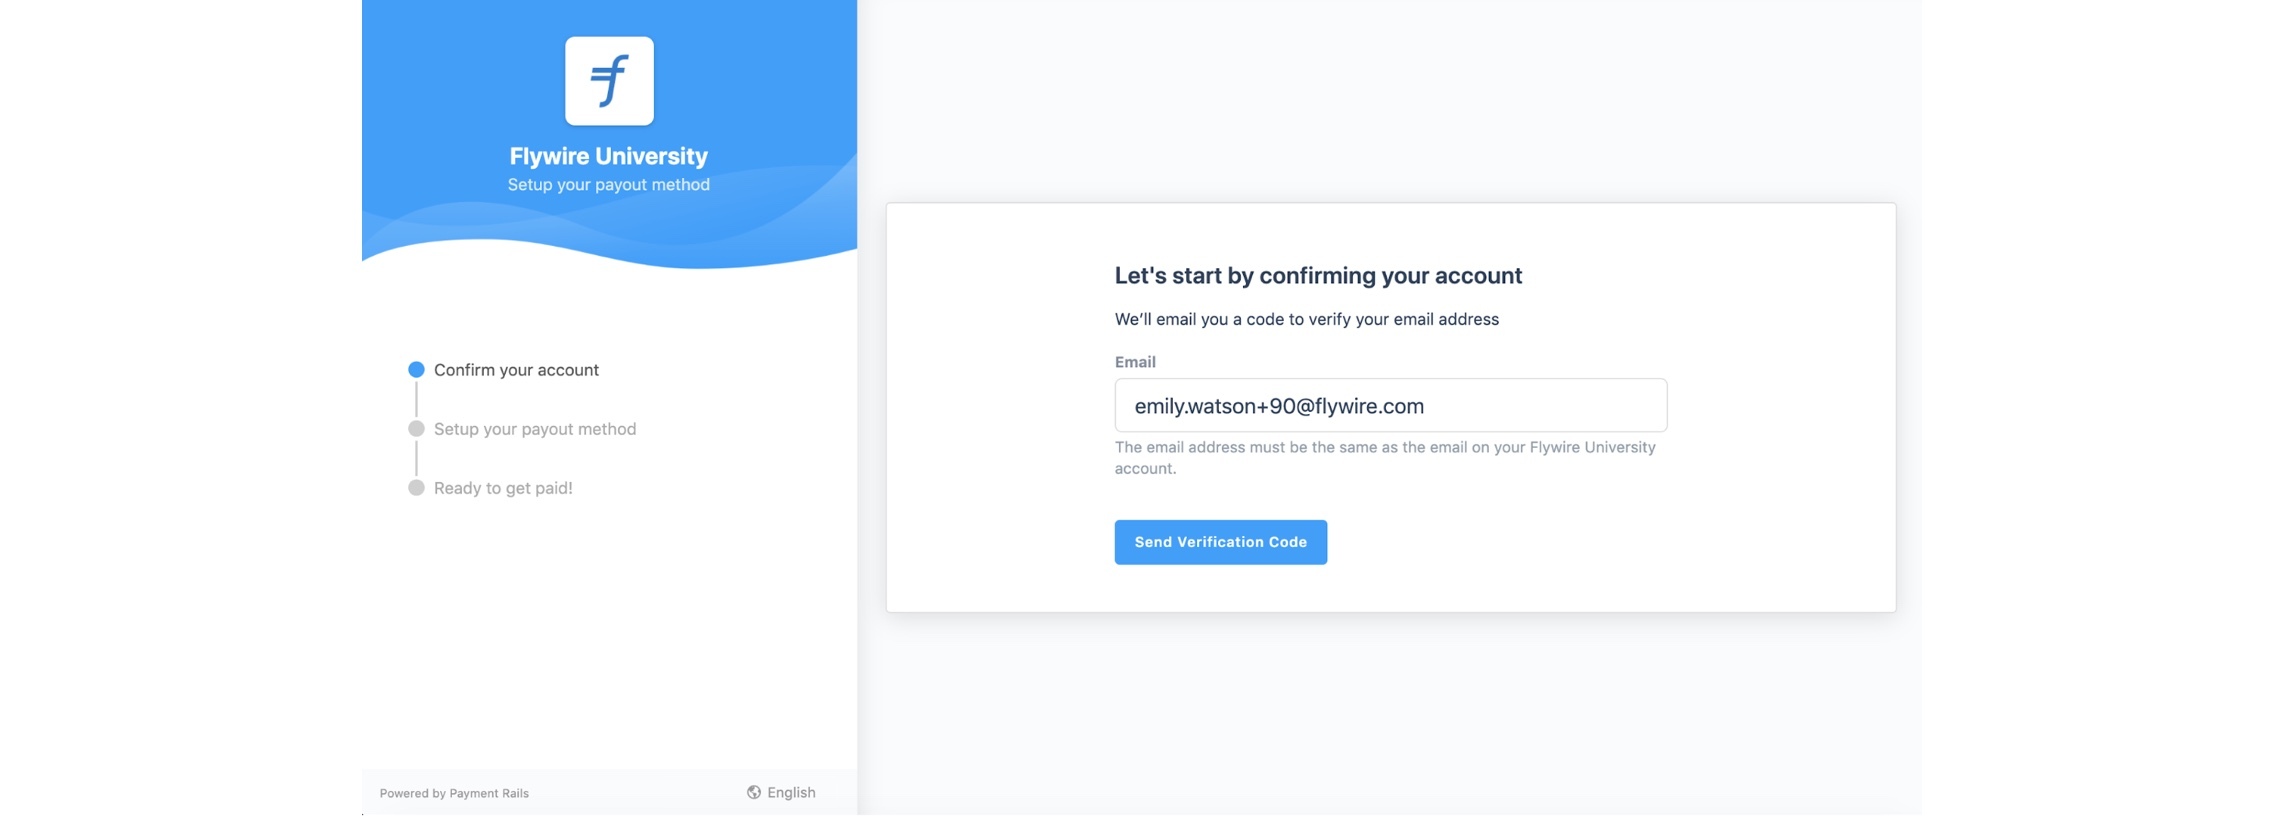
The system will send a code to your email address. Once you have received this code, enter into your portal when prompted to log in.
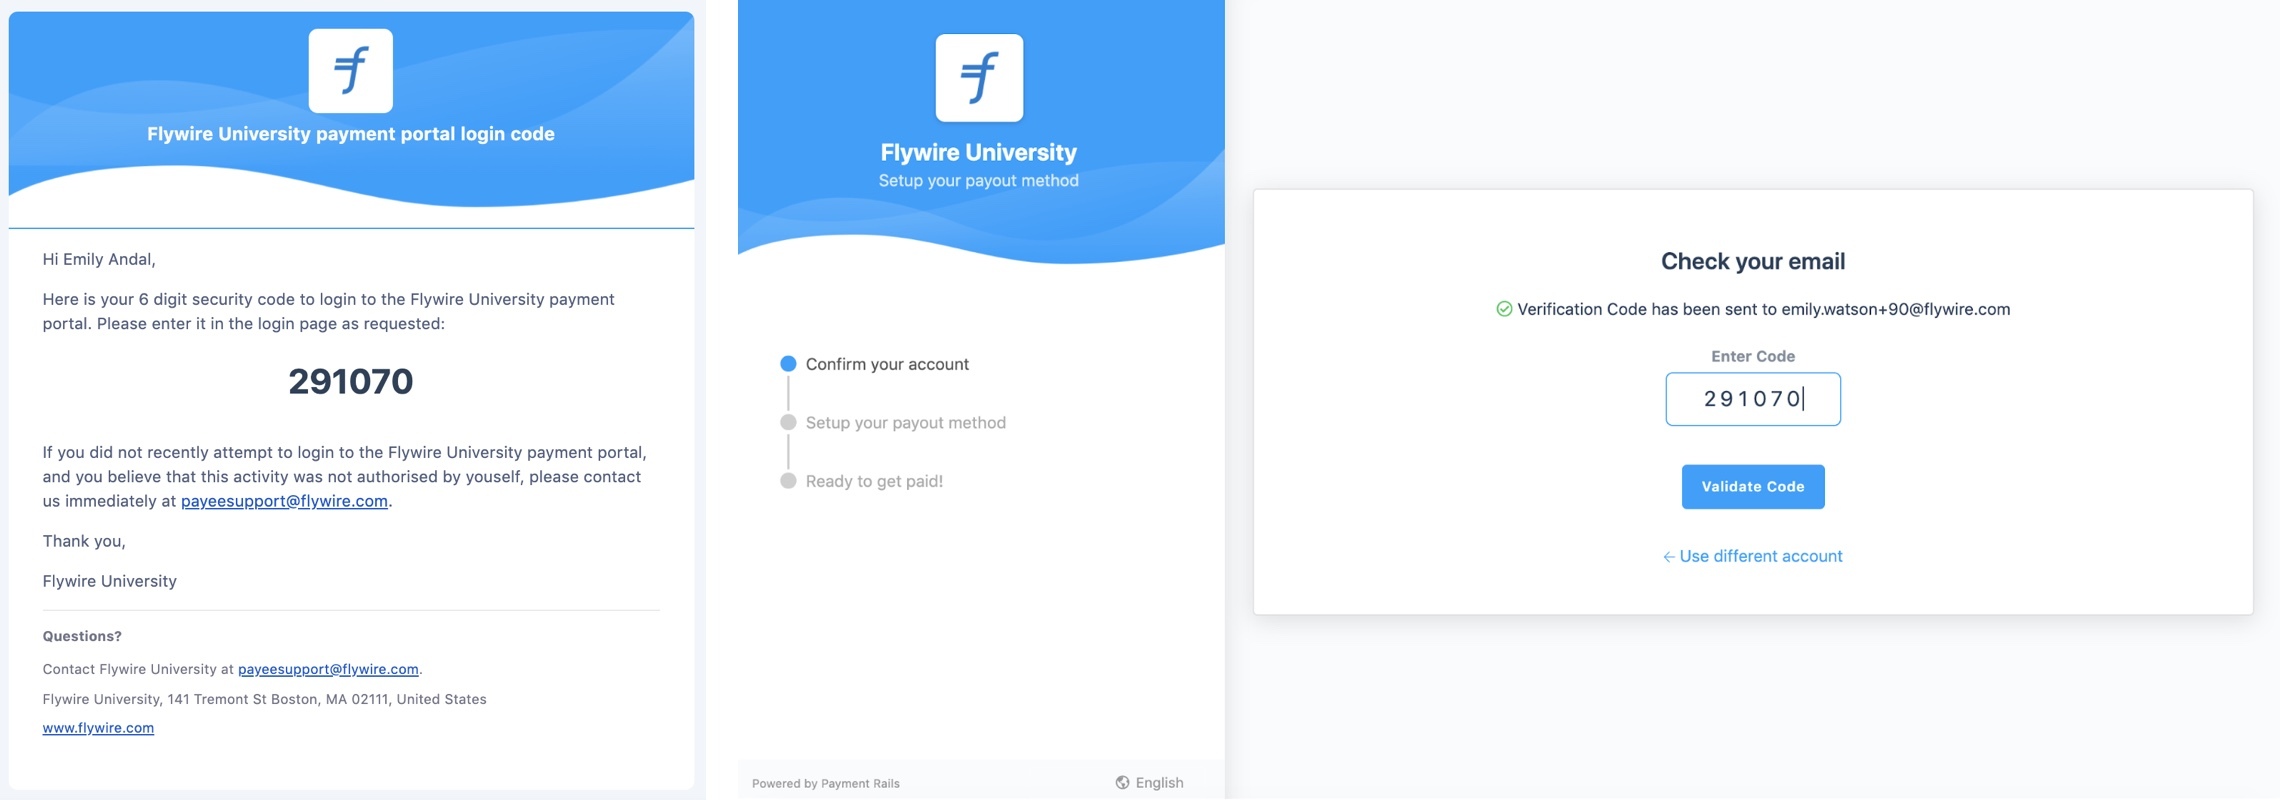
Please note, your verification code will expire in 10 minutes. If you miss this time window, you can return to your portal and click ’Send Verification Code’ again to regenerate a code.
Step 2: Set up your personal information
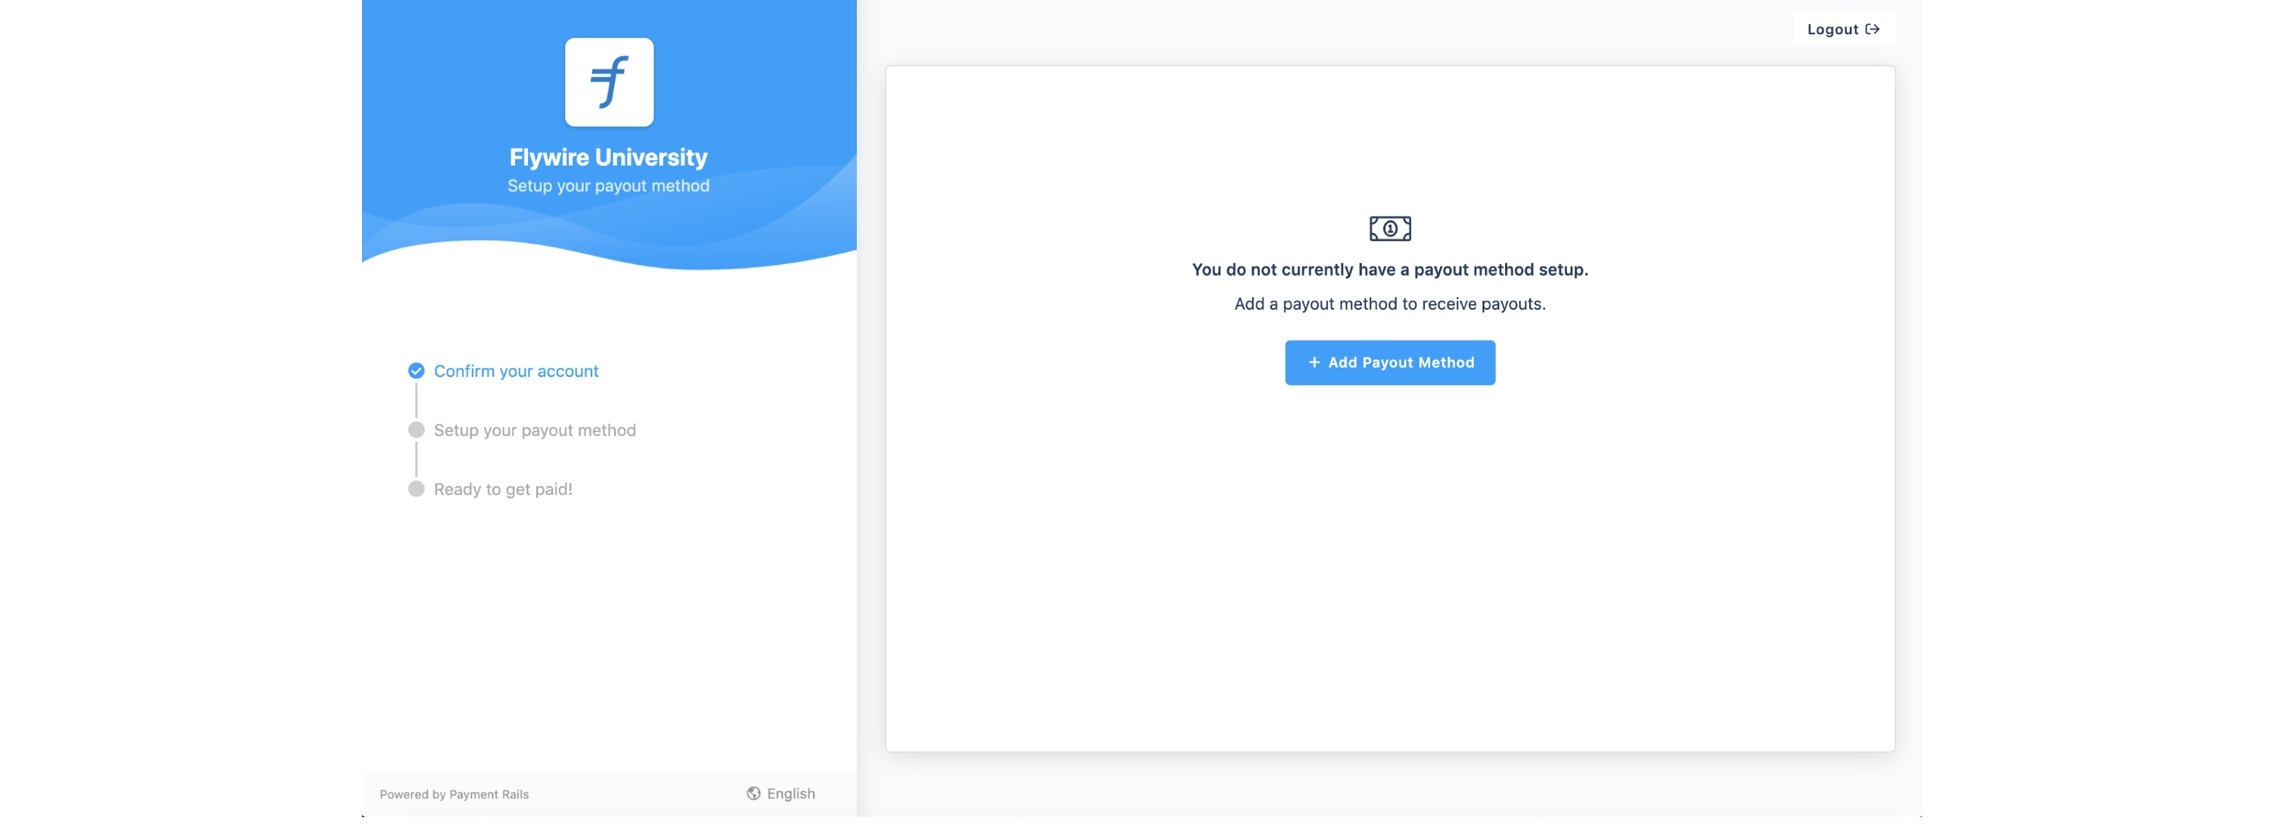
Start by clicking on the “add payout method” button, to ensure the school has your correct banking information on file.
Fill out all of the fields presented. This information should match the information your school has on file. You can edit this information at a later time. Please note this information is returned to your school and they may use it to contact you.
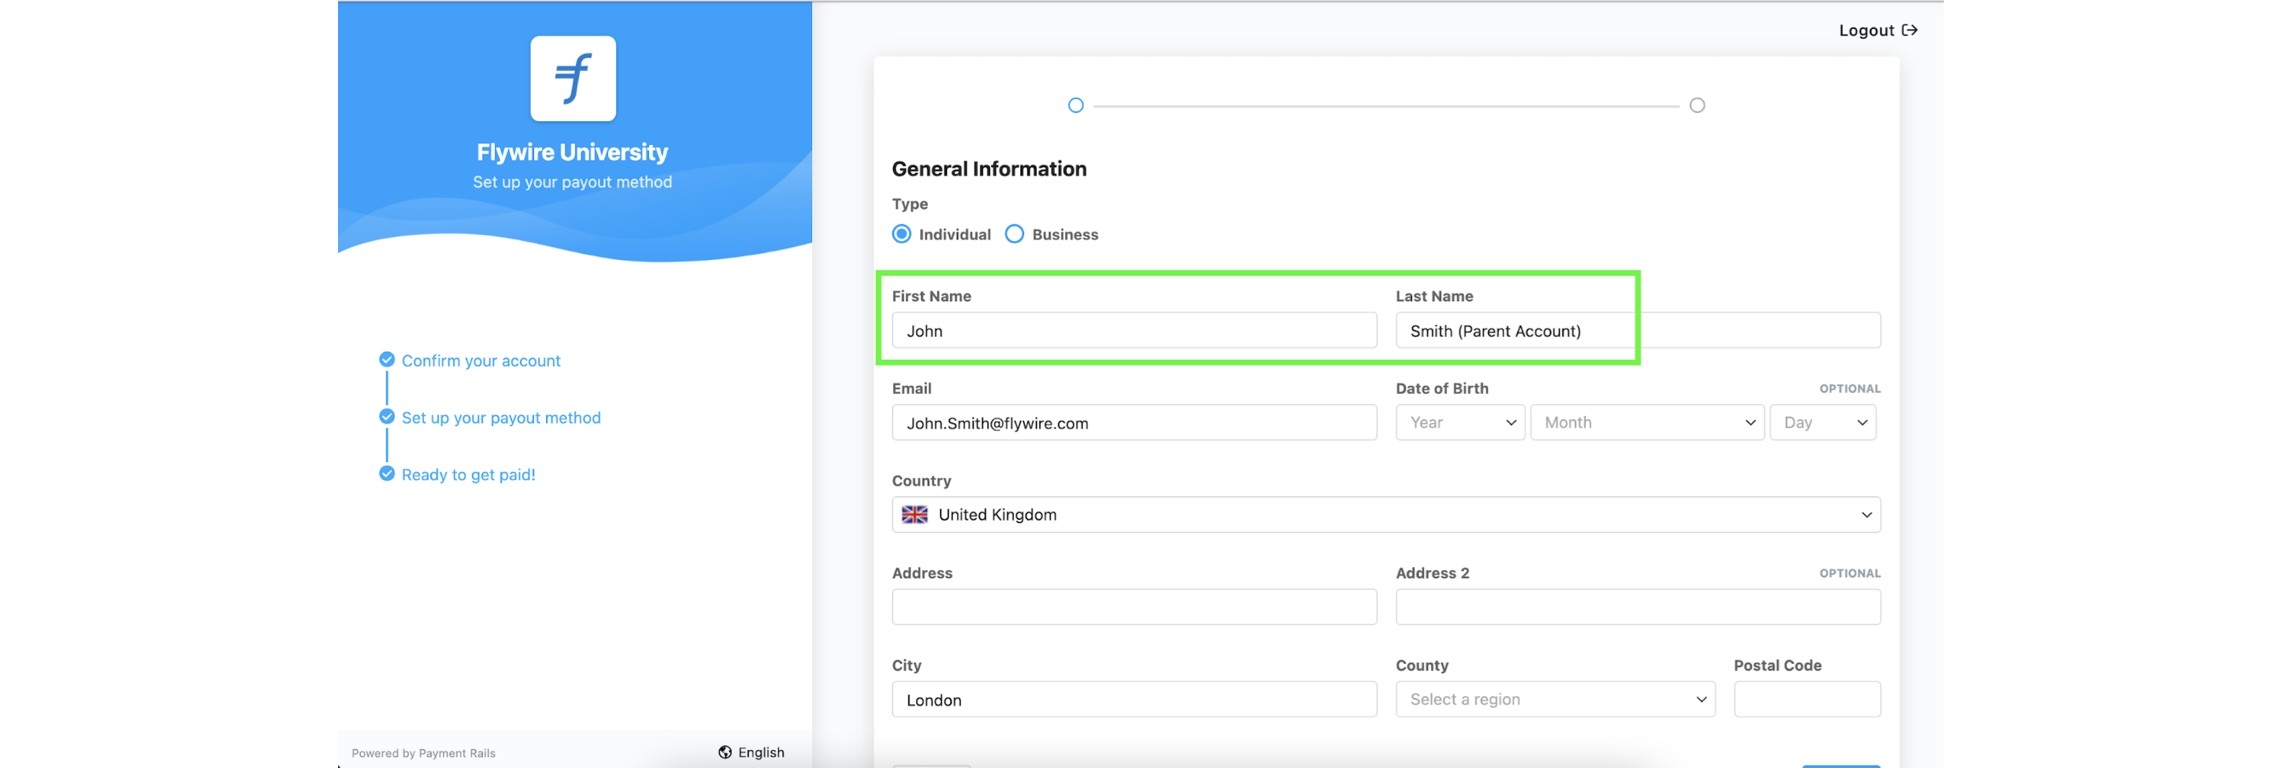
NOTE: if bank account holder is a different person/entity, please indicate their relationship to you in the last name field. Example:
First Name: John
Last Name: Smith (Parent Account)
If the account holder is your friend or uncle, please indicate (Friend Account) or (Uncle Account) respectively etc. If the relationship is a third party, then indicate (Third Party).
*IMPORTANT*: The country you select should be the country to which you want to have your funds delivered. In Step 3 you will be asked to fill out your banking instructions, and the information we request from you will be determined by the country you select on this page.
In addition, full address, government ID, date of birth, and telephone number (if required) MUST belong to the bank account holder, if it is a different person/entity. Otherwise, enter your information.
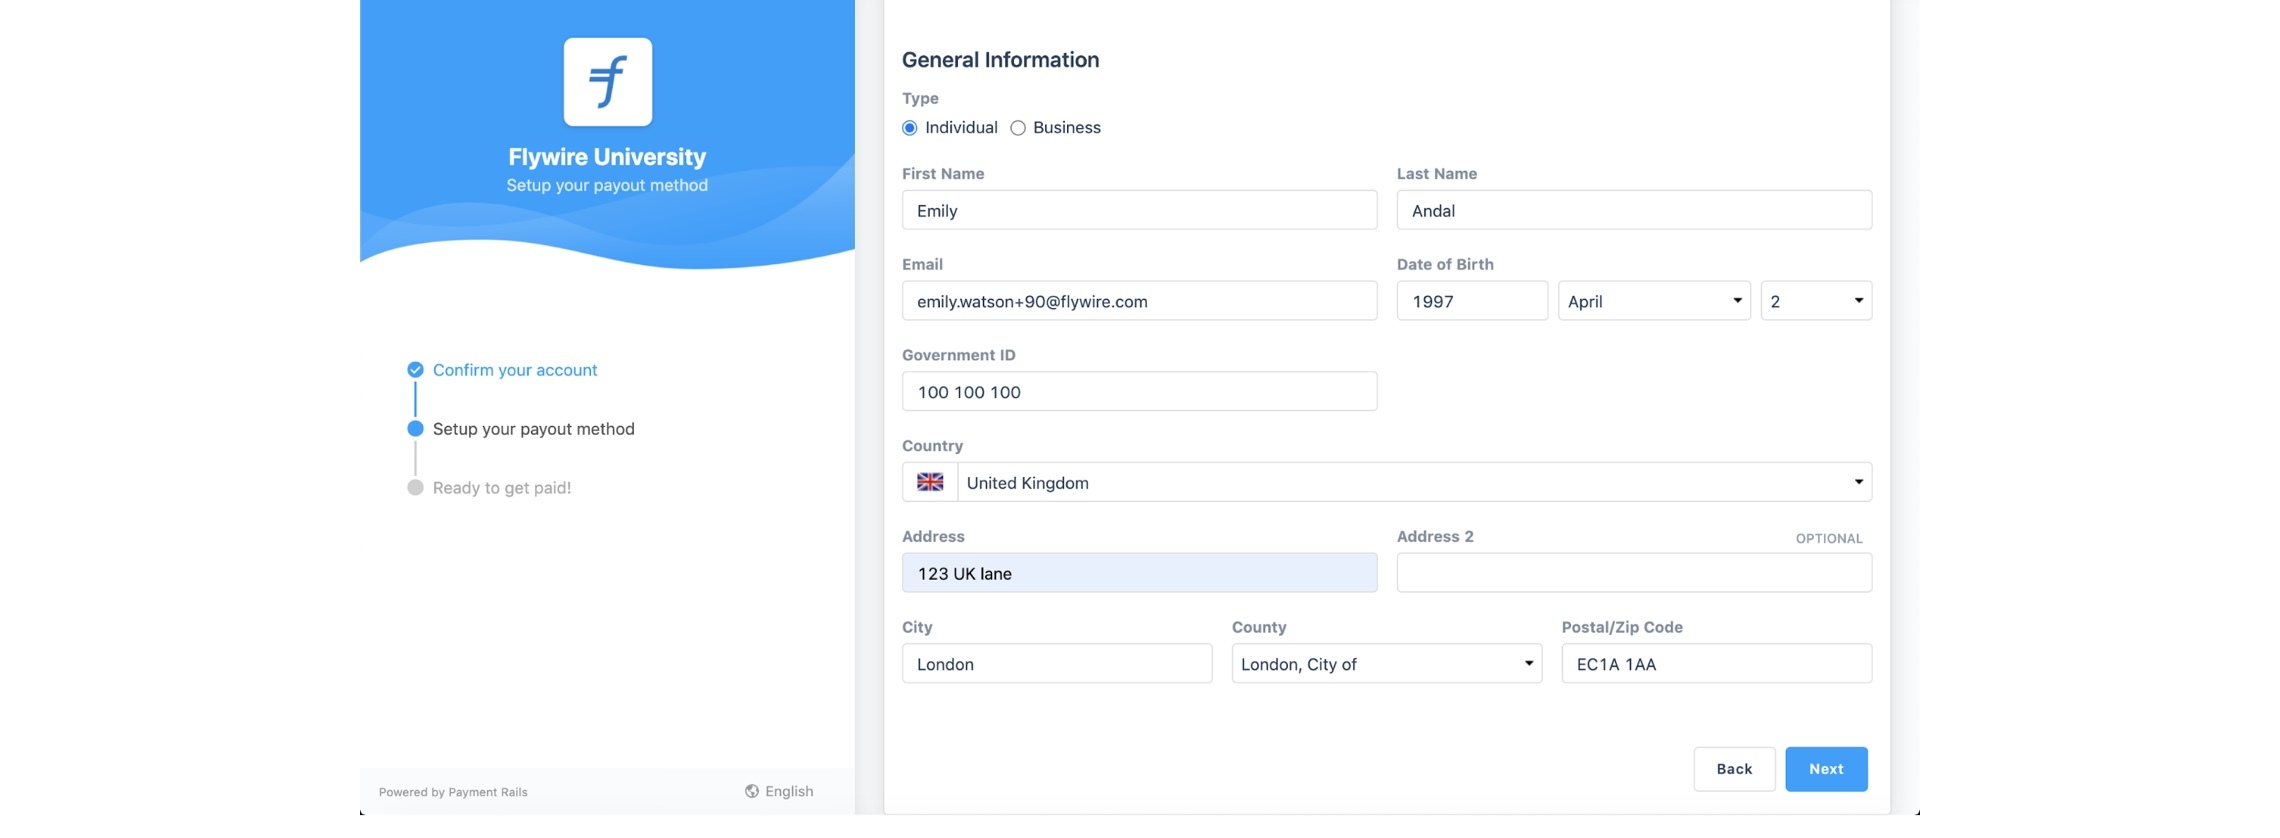
Please note, if you do not complete mandatory fields you will not be able to insert your banking information.
Step 3: Add your banking instructions
If the funds you are expecting are for a refund, please make sure this is the same bank account you used to pay the original payment.
Before adding a payment method, please review the following instructions:
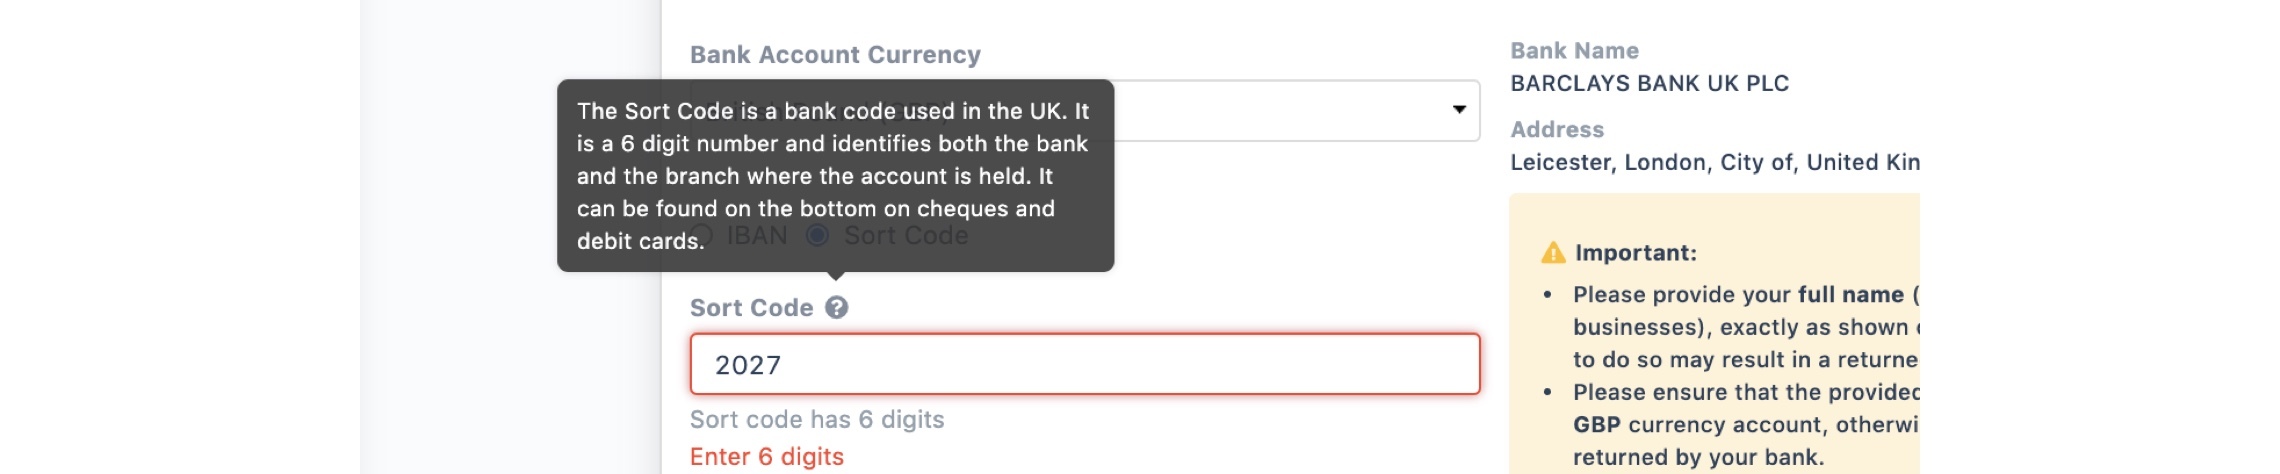
- Your bank instructions (routing code, IBAN, sort code etc.) will be validated. Please check to make sure the bank name matches your expectations.
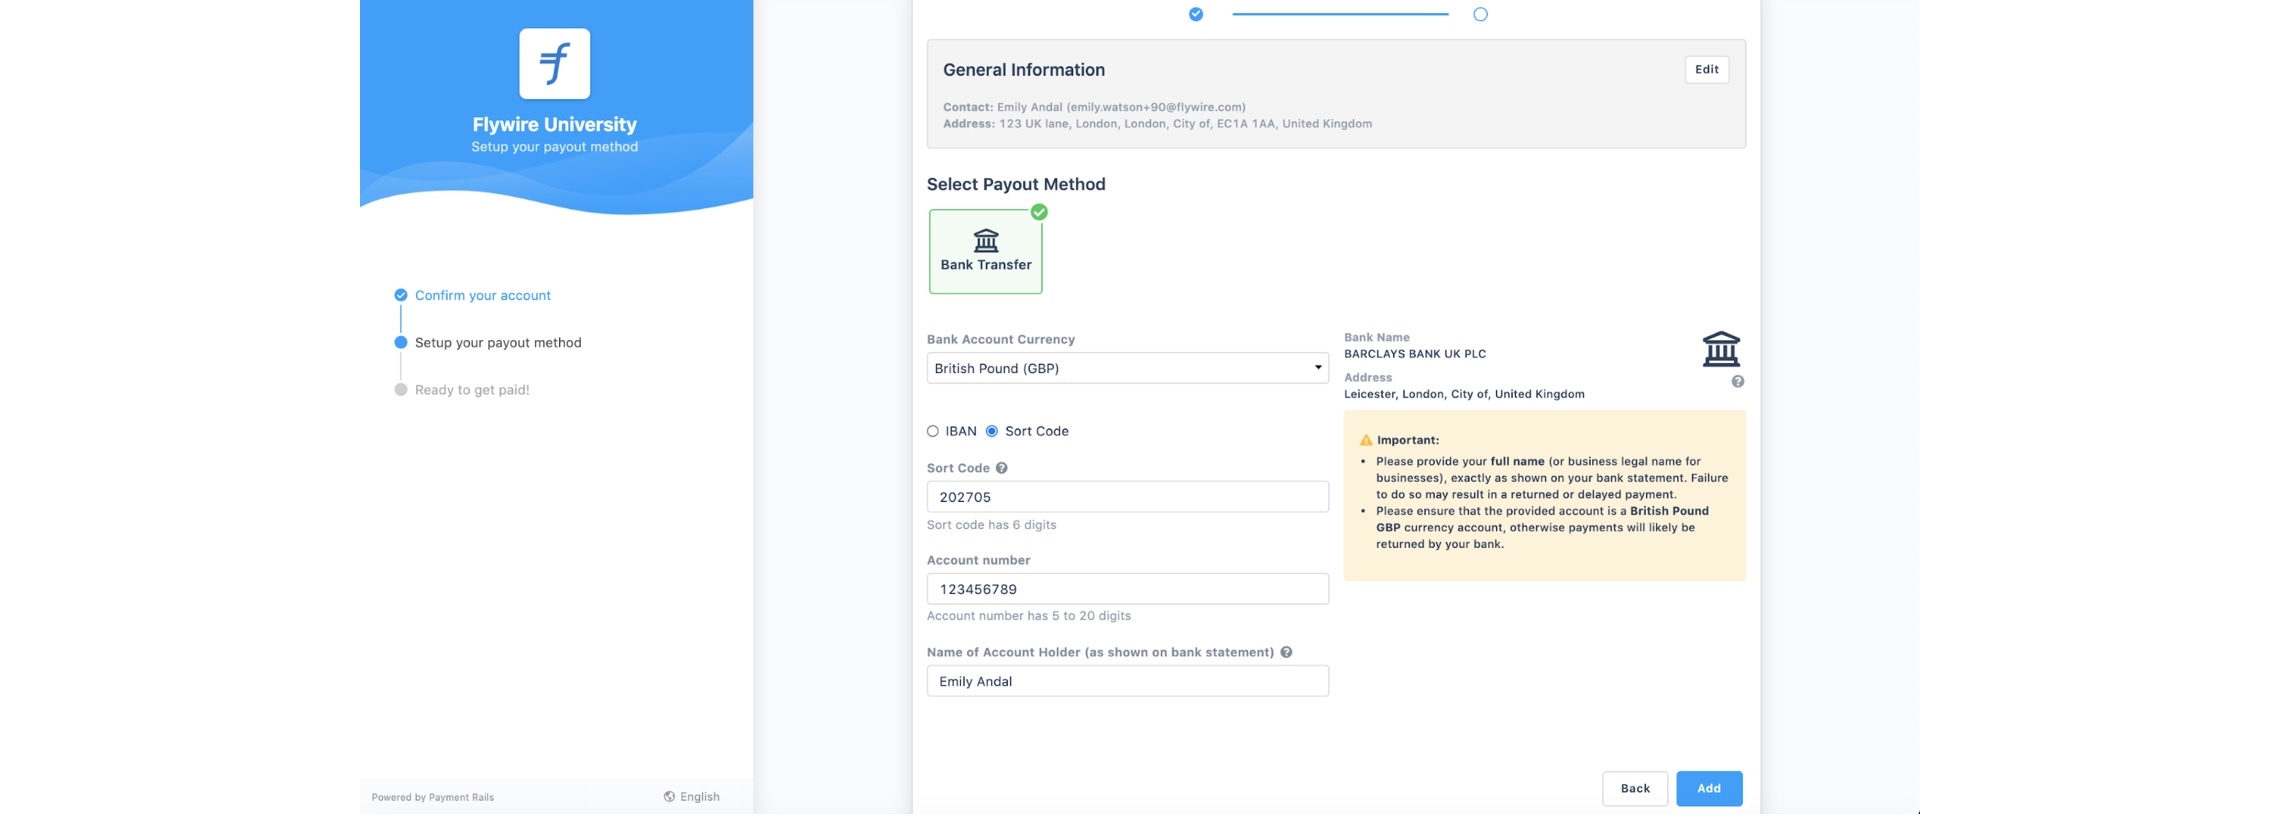
- Please make sure the name you provide matches the name on the bank account. If it does not match, payment will be delayed or funds will be returned.
- You must complete all required fields before the details can be submitted. If you’re not sure what to enter for a specific field you can hover over the question mark icons to learn more.
Once you hit “save,” your school will receive your instructions and will be able to send your money! You will receive an email when your school has processed your payment.
Please note this may take a few days after you have provided your instructions.
Where is my payment?
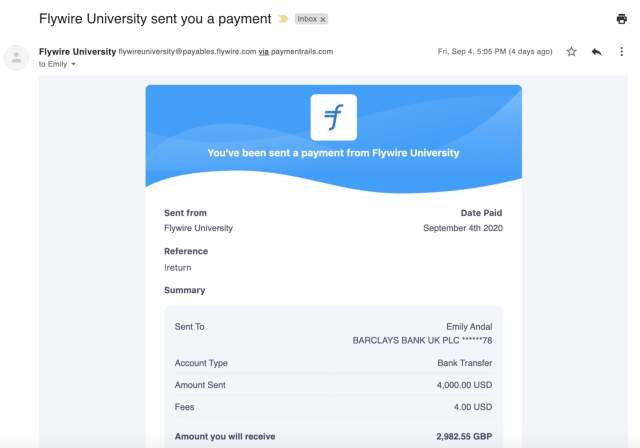
Please note, the content of this article is only relevant to users that have received an email from their university informing them that “[Your university] has sent you a payment!”
If you have not received this email (sample below), you may disregard this information. Your payment has not yet been processed by your university.
Once you have entered your account details and have completed the required steps your school will follow their own internal process to issue your refund. Once the payment has been released, there are three possible statuses for your payment:
- On Its Way!: Your school has sent your payment but it has not reached you yet. You will receive an email once payment has been sent to you. This email will tell you how many business days it will take for your payment to arrive.
- Returned: Your payment was returned to us and requires your attention. You will receive an email citing the reason for the return. We will ask that you update your banking instructions so we re-attempt the payment. To update your banking instructions, follow the below steps:
- Log back into your portal
- Update your bank instructions by either of the following:
- Select the pencil icon to update a deactivated or “inactive” payout method

- Add a brand-new payout method

Please note, we cannot send any more payments to you until you add a new payment method or update an existing method.
- Select the pencil icon to update a deactivated or “inactive” payout method
- Delivered: Payment has reached your bank account and there are not further actions
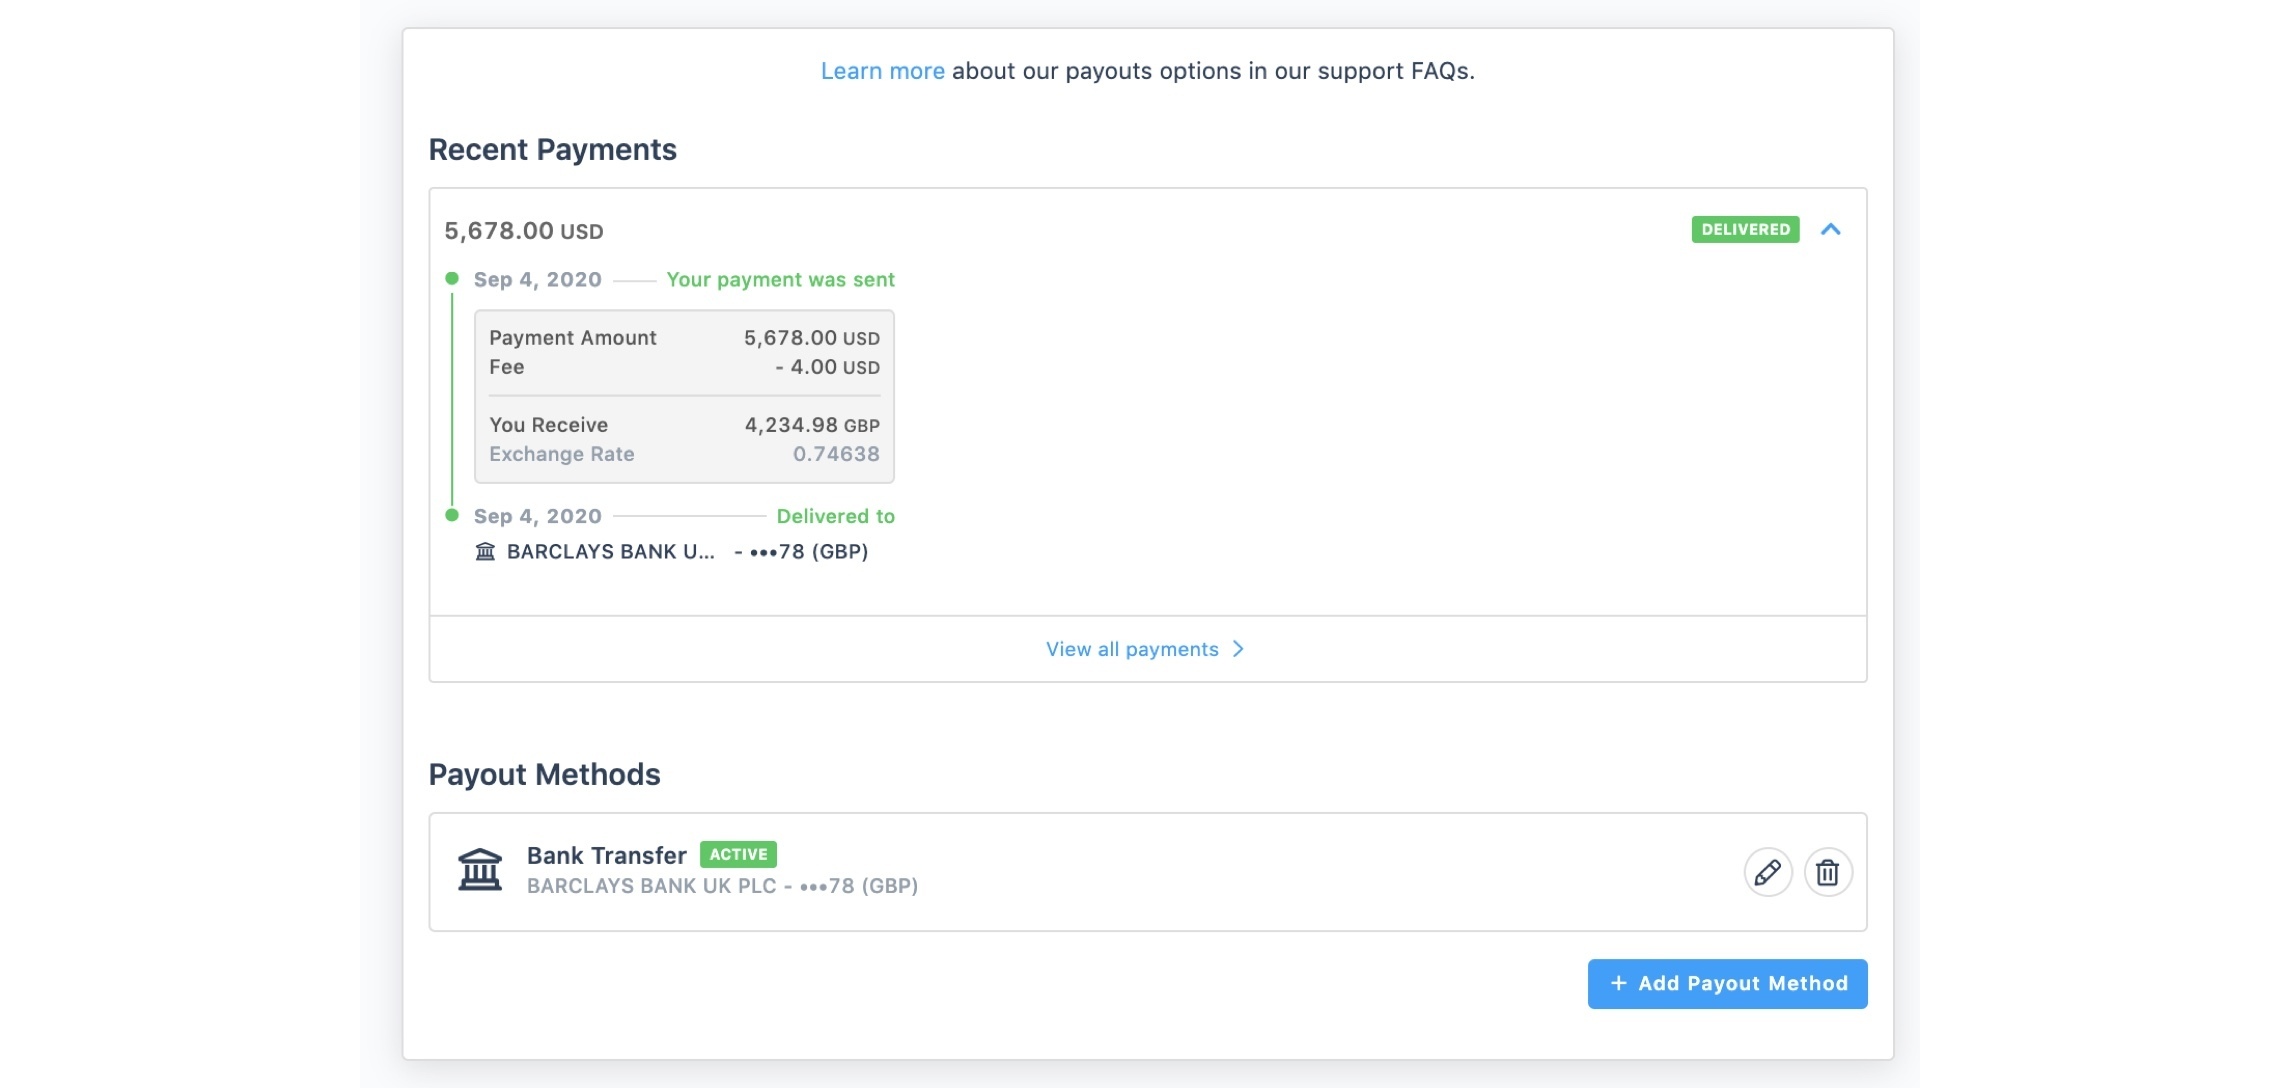
Tracking your payment(s)
You are able to access your portal any time. You can use this portal to see a history of payments your school has sent to you and the corresponding payment instructions.